


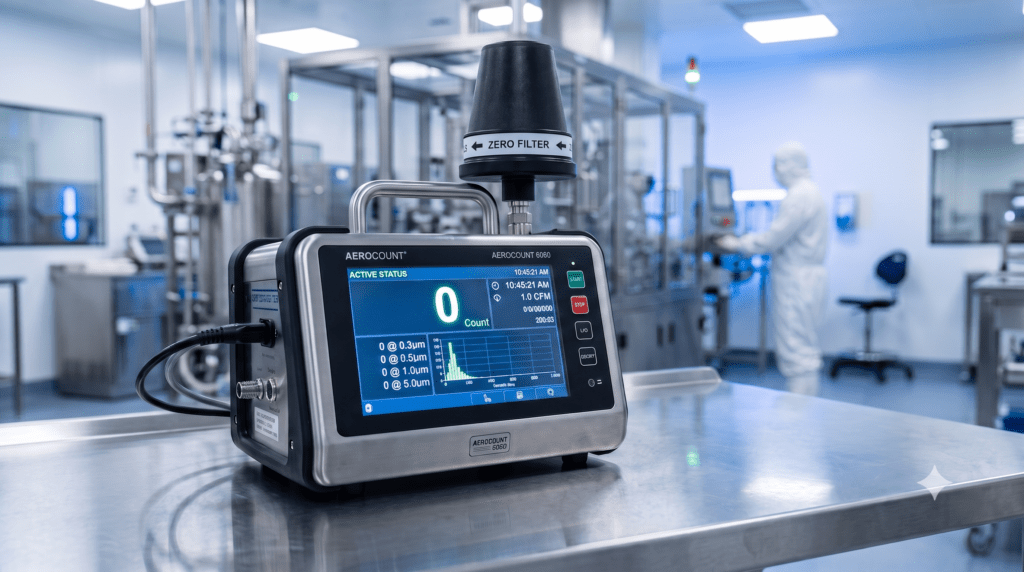
What Is Zero Count Testing? Why Should Your Airborne Particle Counter Pass It Before Every Use?
Imagine you are validating a multi-million-dollar cleanroom with your trusted airborne particle counter, only to find that the numbers on the screen are not fully reflecting the real condition of the room. The reason may be that the instrument itself still has residual contamination inside, or internal signal noise is affecting the readings without you realizing it.
That is exactly why Zero Count Testing—also called Zero Check or Purge Test in many manuals—has become an essential step for professionals involved in Cleanroom Validation and Environmental Monitoring.
If you are responsible for using or maintaining an airborne particle counter in pharmaceutical, electronics, food, or laboratory environments, this article will walk you through the importance of Zero Count Testing, the detailed procedure, and practical field applications so your measurements remain accurate, reliable, and aligned with applicable requirements.
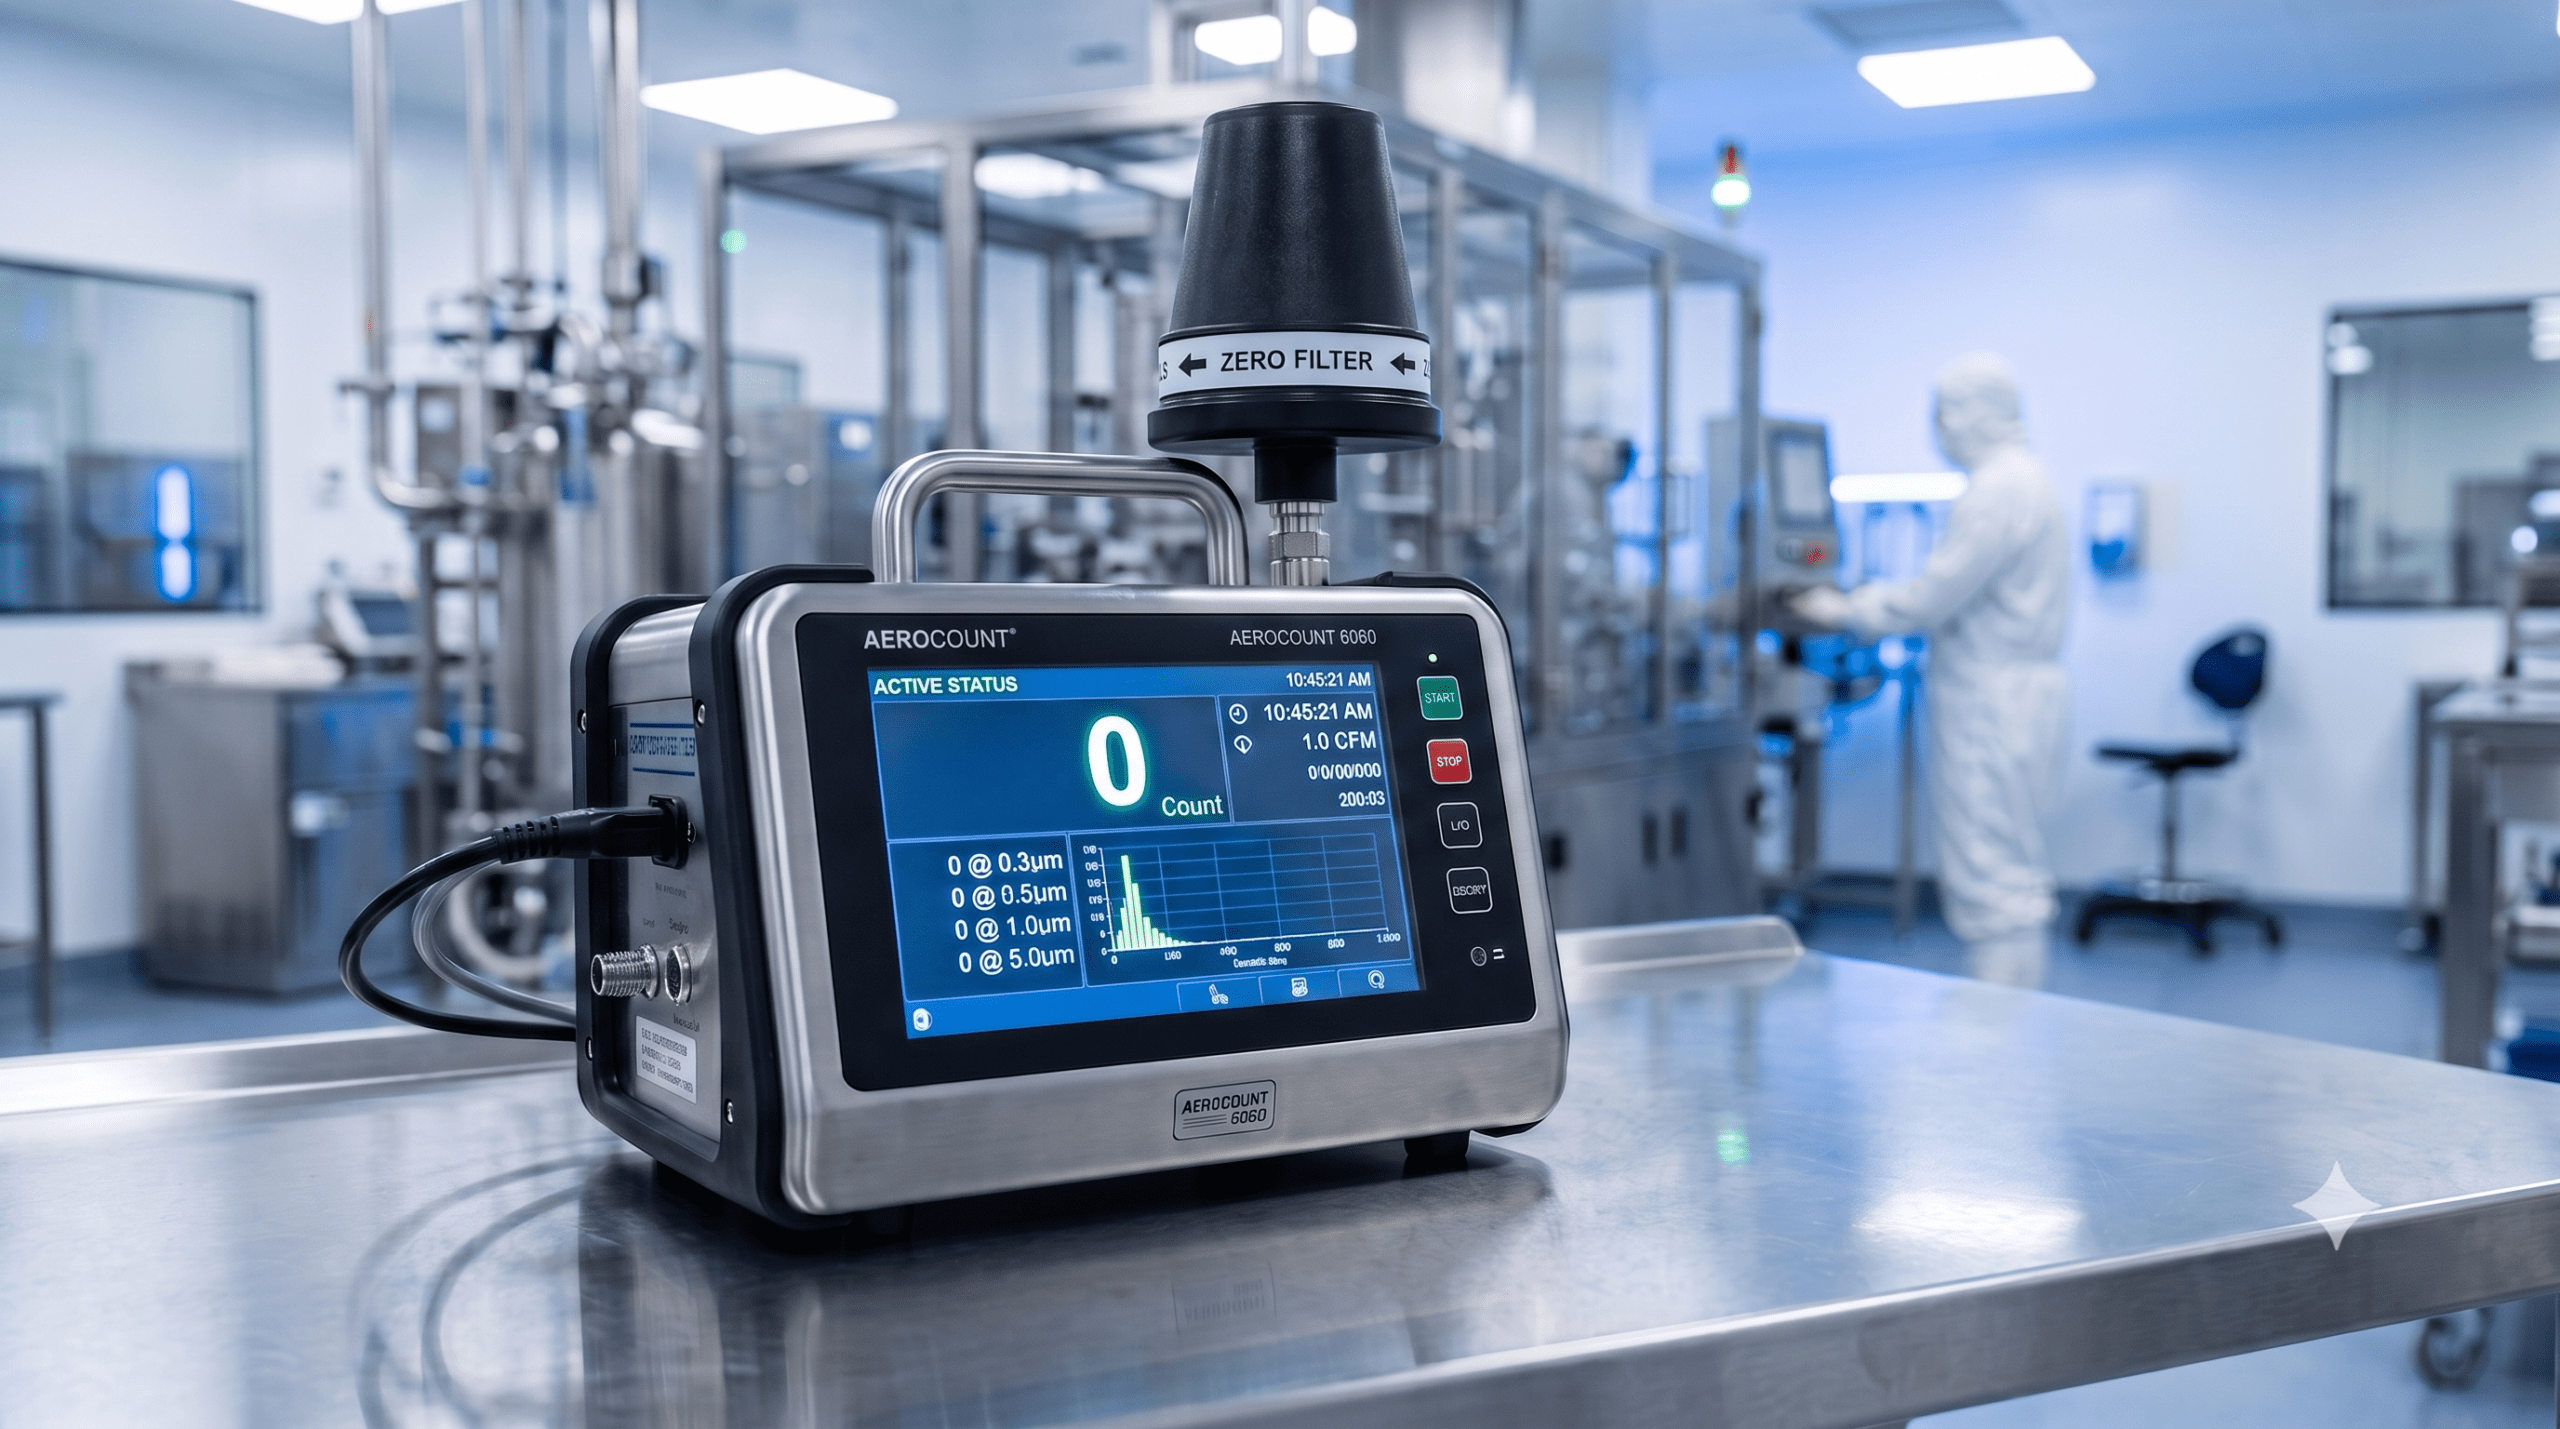
What Is Zero Count Testing?
Zero Count Testing is a verification check used to confirm that an airborne particle counter is not producing erroneous counts or false counts caused by the instrument itself.
Common causes of false counts include:
-
Electronic noise.
-
Contamination within the airflow path.
-
Leakage at fittings or connections.
-
Residual particles in the sampling system.
The basic principle is simple: the instrument is connected to very clean filtered air, and the displayed result is checked against the acceptable limit. In technical documentation, this check is often described as a false count rate evaluation or a purge of residual contamination rather than a promise that the instrument must always show absolute zero under every condition.
Why Zero Count Matters
Performing Zero Count Testing before use helps ensure that the particle counter is actually measuring the environment, not itself.
Main reasons to perform it:
-
Reduce misleading results from the instrument itself. Internal contamination or noise can make readings higher than the actual condition.
-
Confirm the instrument is ready for use. It is a basic readiness check before actual data collection.
-
Support data integrity and traceability. Recorded zero checks strengthen confidence in the full dataset.
-
Detect mechanical or system issues early. Abnormal results may indicate leakage, tubing contamination, sensor problems, or flow issues.
-
Align with standard verification concepts. ISO 21501-4 covers calibration and verification guidance for light scattering airborne particle counters, including false counts.
Think of the instrument like a pair of glasses. Zero Count Testing is like cleaning the lenses and checking that the frame is secure before you start using them.
Zero Count Procedure
In practice, Zero Count verification is usually divided into two stages:
-
Pre-use check
-
Post-use check
Both use the same basic principle: pass clean filtered air through the instrument and evaluate the result against defined acceptance criteria.
Pre-Use Check
The pre-use check is usually included in the organization’s SOP to confirm that the instrument is ready before entering the operational area.
Step 1: Prepare and stabilize the instrument
Turn on the airborne particle counter and allow it to stabilize according to the manufacturer’s instructions. Some models require only a few minutes, depending on the sensor type, pump system, and instrument design. Always follow the manual for the specific model being used.
Step 2: Install the zero filter or purge filter
Connect the manufacturer-specified high-efficiency filter to the probe or inlet securely. The connection must be tight and free from leakage, because even a small leak can affect the test result.

Step 3: Set the test mode according to SOP
Define the particle size channel, sampling time, and number of repetitions based on the manufacturer’s manual or your SOP. Some manuals use a test time of about one minute, while others use multiple cycles to ensure the system is sufficiently purged.
Step 4: Read and evaluate the results
Once the test is complete, evaluate the results using the defined acceptance criteria. In some industry practices, criteria such as 0 counts or no more than 1 count in 5 minutes are used, but the actual criterion must always follow the organization’s SOP and the manufacturer’s instructions.
Important: Always check the tightness of the connection between the filter, tubing, and inlet. A failed zero check is often caused by leakage or loose assembly rather than a defective sensor.
Post-Use Check
Many users ask why the test should be repeated after use if it was already performed before use.
The answer is that the post-use check confirms the instrument did not accumulate contamination during operation to the point where counting performance changed significantly. It also strengthens confidence in the data collected during that run.
Zero Count after use as maintenance
Performing Zero Count or Purge after use, before switching the instrument off, also has value as a basic maintenance step.
During operation, the instrument may draw dust, particulate matter, or other small contaminants into the airflow path and sensor area. Running clean air through the system again before storage helps reduce the chance that these particles remain inside and affect counting stability in the next use. For this reason, the procedure is often considered part of routine maintenance or post-use care.
Post-use workflow
-
Attach the zero filter or purge filter.
-
Run the test immediately after the field measurement.
-
Review the result against the acceptance criteria.
How to interpret the result
-
If the post-use result passes: it supports the conclusion that the instrument maintained acceptable counting performance throughout the usage period.
-
If the post-use result fails: review the reliability of the collected data and investigate the abnormal result before using the instrument again.
How to Apply It in the Field
In real-world situations, users often face limited time, airflow variations, or the need to measure multiple locations within a short period. That is why applying Zero Count Testing correctly in the field is an important skill.
Practical Tips
1) Choose an appropriate test location
Avoid testing in places with strong airflow, rapid pressure fluctuations, vibration, or frequent door movement. These conditions can make the result unstable.
2) Check the filter before every use
The zero filter or purge filter should be in good condition, with no tears, moisture buildup, or blockage. A degraded or contaminated filter can make the result unreliable.
3) Record the result systematically
Use a log sheet for every zero count check and record:
-
Date.
-
Time.
-
Instrument model.
-
Serial number.
-
Operator name.
-
Test result.
4) Set the frequency according to risk
For validation, requalification, or routine environmental monitoring, the frequency of zero checks should be defined in the SOP based on process risk and manufacturer guidance.
5) Watch for warning signs
If the instrument begins to fail zero checks more often, or the results trend upward over time, suspect internal contamination, sensor issues, flow problems, or component wear. Do not continue using the instrument without investigation.
Common Field Precautions
-
Allow the instrument and airflow system to stabilize before testing, especially after moving the unit.
-
Avoid bending , squeezing or vibrating the tubing during testing.
-
Make sure the filter-to-inlet connection is tight.
-
If the environment is highly humid or temperature varies significantly, repeat the test when necessary.
Conclusion
Zero Count Testing is not just an extra step to make a procedure look complete. It is one of the basic verification checks that helps confirm an airborne particle counter is operating within an acceptable counting condition and is not producing excessive false counts from the instrument itself.
Another important point is that performing Zero Count or Purge after use before switching the instrument off also has maintenance value. It helps clean out residual dust and particles from the sample line or sensor area, which may otherwise affect counting stability during the next use. In that sense, the final zero check is not only a verification step but also part of keeping the instrument ready for future use.
For professionals working in Cleanroom Validation, Environmental Monitoring, or Quality Control, consistent zero checks help reduce the risk of erroneous data, improve report reliability, and support traceability within the quality system. Acceptance criteria and test frequency should always be based on the organization’s SOP, manufacturer guidance, and applicable requirements.